Recording audio may sound easy, but it's a complex process of various scientific approaches that allows an audio artist to depict precise audio.
These 5 simple home studio recording tips could make that exact audio quality reflect out of your walls too.
Home Studio Production
In the last couple of years, the viral spread of hybrid sub-genres of mainstream music emerged; thanks to the availability of home studio productions.
What place could be more desirable to have your music studio crafted in, than your sweet doorstep?
When talking about home studio production, things actually don't have to be difficult at all.
Whether you are fully equipped or working within your virtual studio with one mic and maybe one live instrument, these simple home studio recording tips will keep your artistic flow much faster and lighter.
Here they are:
5 Simple home studio recording tips
Anyone with a fair amount of basic knowledge could make their own recording in a blink of time. But, home studio recording is much more than that.
Even though it's a way beyond a simple plug-and-play dogma, still some same mistakes are being made. Here is what you can do to avoid and stop them from happening again.
Tip #1: Check mic placement

Correcting mic placement is No.1 rule you must abide. Positioning your main recording device right, aids you in getting the best possible recording track to mix and edit in your favorite DAW.
Now, is there an optimum mic range? There is no simple answer to this. Microphone placement depends on a couple of external factors. First of which is your instrument's sound or timbre.
This simply means the type of the instrument you are using in your recordings. Instruments differ from each other in the way they produce the sound when played.
Learn your instrument well and test various mic placements on it until you get that sweet spot.
Second factor includes the room acoustics and whether and how much your recording space is resonant or not. Now, the real question still resides. How to use microphone distance to your advantage? Well, again, it's simple than it may sound.
The answer is experience. Acquire some experience by experimenting on your own. Learn what to listen and try as much as you need until you tune your hearing.
Test the microphone-instrument distance by placing mic near (5-10cm) the instrument, 5-10 feet away and in-between that.
Different rules apply with each instrument, especially a vocal one, so take your time and notice what you get from the created distance.
On the other hand, there are some thumb rules belonging to mic placement that work most of the time.
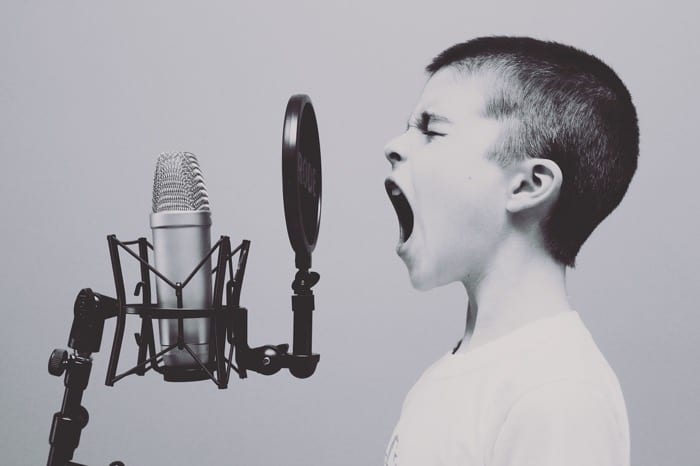
That is placing the condenser microphone 6 inches from the vocalist's mouth that you can stick to at any given time. Also, a reflection filter is a must in this fix up.
But there's one golden rule or secret extra tip among these recording tips to implement now.
One of the top secret weapons among audio engineers getting the microphone's sweet spot is head movement.
Yes, you read it right! Simple as moving your head and using your ears as a microphone will give you the right perspective on the instrument's best performance.
Move right, left, close and far away, up and down to see and test the different instrument's sounds.
Another thing to consider is to go with condenser mic and an audio interface when recording vocals.
Tip #2: Get headphone feedback

Whether it's you recording your own stuff or you provide a mix through the musician's headphones, there are some important things to consider here.
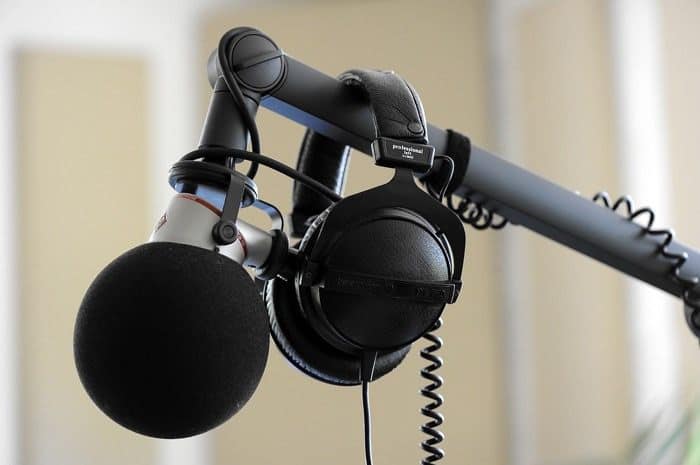
It's crucial to know that the headphone mix feed must contain a correct pitch reference and a clear copy of the background music reference as well (effects or not).
If it's you in the recording spot, good headphone feedback will give you enough boost to keep the recording workflow smooth and positively energized.
If it's the artist you are working with, headphone feedback will boost his confidence and get the most out of his vocal performance.
Now, when talking about recording takes, you may wonder is there some simple rule of how many takes is enough? Again, if time and other conditions allow, you can take as many as you like.
Supposedly, three takes is the bottom line to start from. If done in the right way, you can spread out and do a couple of more.
But do remember, know the notes by heart before you stand in front of the mic so you can make your performance as effective as possible.
Tip #3: Deal with audio resolution well
What this means is you need to know optimal width and depth of an audio recording if you want to get the top-notch audio quality.
You don't have to dig too much into the technical specs of this if you are a musician, vocalist or instrumentalist.
But you need to know that 24-bit depth gives the best result to your recording dub. Simply put, a 24-bit depth gives higher dynamic range, further meaning more headroom or space to your mixes.
It gives more details to your audio and more natural sounding project.
Sample rates is another thing to take with exquisite care here. A standard includes 44.1kHz (CD quality) and 48kHz for final project image. Let's keep it there.
Tip #4: Pay attention to audio cables
One of the most common missed basic steps is the one referring to the importance of audio cables.
Owning a proper level of high-quality connection cables leads in high quality audio recordings. Don't even think of skipping this step.
Having a proper audio cable is like your first defensive line against the stream of electricity. A good cable gives enough resistance to keep all different types of distortion happening like ticks, cracks and hums.
All that stuff can be very noisy and can be a lot of distraction if you are mixing your projects.
One more thing to keep in mind is extending your cord's life with correct coiling. There are specially made adds for that.
Alternatively, you could just learn the proper treatment in one of the online sources out there.
Tip #5: Don't neglect project referencing
No matter what your knowledge level is, these home studio recording tips cannot be taken lightly.
We are at our last key tip called the project referencing.
Reason?
We'll give you more than one.
Referencing is the closest thing to having a perfectly balanced audio.
A good reference track reveals your errors and serves as a pointer to your perfectly mixed and mastered track.
But there is also another type of referencing model to apply in your hard-working deed. That is a mixing reference. This end of a referencing technique includes a comparison of your mix – wet vs. dry.
Turning your plugins on and off, in other words, by bypassing you can hear both sides of your work at any time and as frequently as needed. The more the better.
This is important because, sometimes by bypassing all plugins at the end of the mixing stage, your dry or unprocessed track may sound better than your mixed one.
A good tip here is to extract both versions and compare them on a couple of monitoring systems.
Also read: 10 Best Studio Headphones in 2019 from $50 – $1000
Is your record button ready?
You are all set, now dial in and make some audio magic out of your art. Remember these tips when looking to get the silver lining out of your home studio recording.
You don't have to splurge to get a professional sound. Yet you have to pay a close attention to those 5 simple rules to keep your peaks close to perfection.
Do it smart and make some room for your creativity.
If you lose track somehow, you can always come back here.
Keep the effectiveness with these basic tips and tricks, be consistent and make them turn heads on your next big hit. Now, hit that recording button and do your thing!

