In this post we are going to cover how to set up home recording studio in detail.
About two decades ago, if you wanted to have a recording studio, you would have a budget running into millions of dollars. The recording and music production world were for a select few.
Artistes who wanted to record and producers who wanted to make music had to pay for studio sessions at commercial studios.
Today, things have changed a whole lot. You can now make music from your home, thanks to lots of innovative technology that has made recording equipment more accessible and usable in smaller spaces.
This is crazy!
That being said, professional studios still have their place in today's world. We'll see more about this as we go on.
Setting up a home studio can be a daunting task, especially if you don't have the information you need.
To be honest,
The most important thing here is not how much money you have; it's how much you know. While some people may choose to outsource their home studio setup, I really think that setting up your stuff yourself has a more personal feel to it.
Additionally, if you are more involved, it would be easier to address problems that may come up while recording or making music.
You shouldn't have to run to your engineer for every tiny problem.
Which studio is right for you?
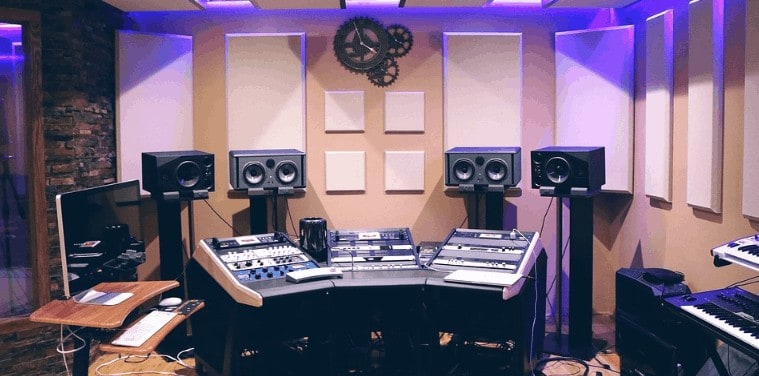
There are different types (or levels if you may) of studios; depending on how much space you have, your budget, and what exactly you plan to use your studio for. You may want to build the:
- Bedroom Studio
- Dedicated Home Studio
- The Semi-Pro Studio
- The "Pro" Studio
#1. Bedroom studio
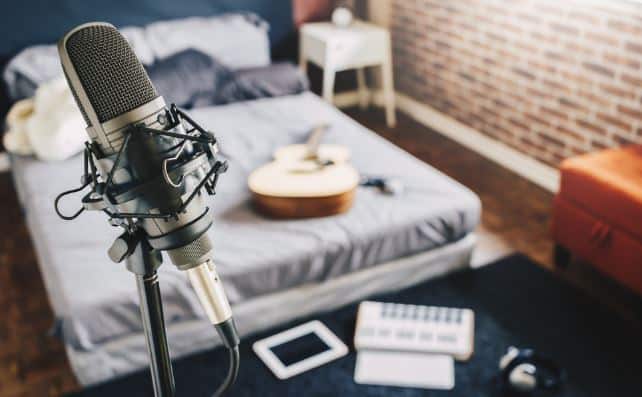
This studio has just the necessary gear needed to make music. Typically, with this setup you can only record one artist or musician at once.
For this setup, all you need is a computer, audio interface or soundcard, one or two microphones, headphones, studio monitors, mic stands, and pop filter. Depending on what instrument you play, you may add a keyboard or a guitar to the mix.
This is a good setup to start your recording career with. However, you should look to scale up with time. The only set of music makers that can be okay with this setup are songwriters and singers who just need to record their demos or ideas.
From experience, the way this usually works is that when you first start with the bedroom studio, you get so excited at being able to make music when you want.
As you get more experienced, working on different projects, you realize that the bedroom studio may not have it all.
It's okay if you're not there yet; you can start small. Actually, you should start small, even if you have enough money and space to go bigger.
To make your work easier, some brands sell their gears in packs. They may have a pack containing a mic, audio interface and monitor speakers or bookshelf speakers. Be on the lookout for these deals when placing your orders for equipment.
#2. Dedicated home studio
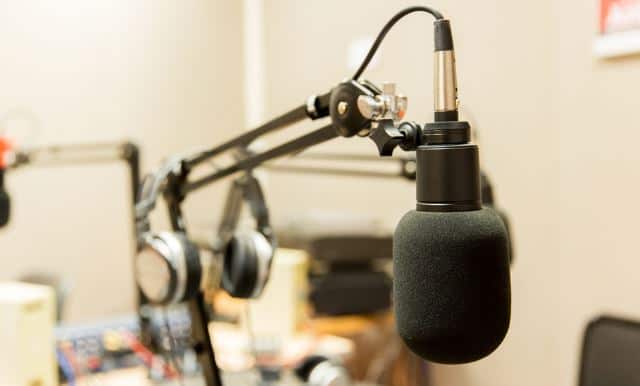
Unlike the bedroom studio, the dedicated home studio has a whole room dedicated to making music. Now, you're ready to take your recording to the next level.
By now you can probably hear the difference between songs recorded in a bedroom studio and those done in more professional spaces.
A dedicated home studio environment has a number of advantages.
One major benefit is that there's a way it puts you in the "zone". You just discover that you get more creative when you're in the studio, compared to when you're at home or anywhere else.
To explain better, have you ever been in a well set up recording studio?
You see all the gear and immediately feel like making music, even if you knew nothing about recording. You see the mic placements and just want to get in there and sing something, regardless of how good (or bad) your singing is.
A dedicated home studio has a way of communicating the idea that space is for recording music only. The gear you'll need in this case is more than those required in the bedroom studio.
In addition to the bedroom studio equipment, you'll need the desk or workstation, chairs, bass traps, acoustic panels, diffusers, reflection filters, monitor isolation pads, and studio monitor stands.
We'll dig deeper into each of these equipment as we go on.
#3. Semi-Pro studio

The dedicated home studio seems like the real deal until you need to record more than two or three singers or instruments at a time.
At times, it may just be drums that you need to record, with up to 8 mic input channels, then you discover that you need more than you currently have.
The semi-pro studio gives you more room for expression. More importantly, if you plan to go commercial with your studio space, you should be looking at a semi-pro studio at least. You will be able to work more efficiently this way.
While you can do your personal recordings in a dedicated home studio space and be good, when other people pay for studio time, the few input options you have may put you on the spot.
In addition to the gear already listed, for your semi-pro studio setup, plan for a rack mount, power conditioner, microphone preamp, headphone amplifier, monitor management, midi controller, DAC, electronic drum kit, control surface, and a DI box.
If you want to record piano don't forget to buy a good piano mics to make your recordings sound excellent.
#4. Pro studio
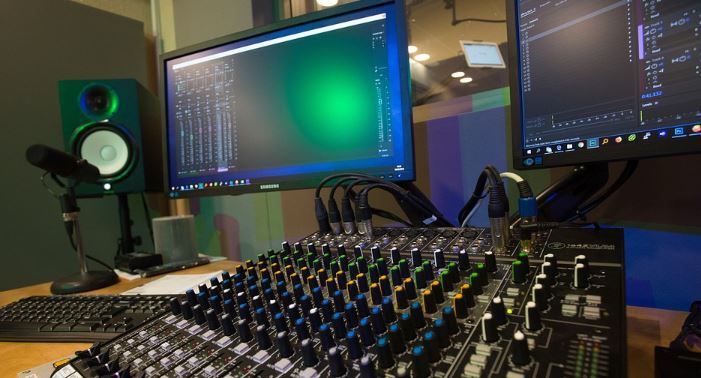
Pro studios are at the very top of the pile. There are very few pro studios around. There are two major reasons for that.
The first reason is the budget needed to set up such a space. The price of one piece of equipment in a pro studio may run into hundreds of thousands of dollars.
The other reason why most people won't set up pro studios is that they may not really be needed.
Not everyone wants to run a pro studio. This reason goes for other types of studios too. Sometimes you may just need to stick to what work for you, or one that meets your needs.
How to choose the right room for your home studio?
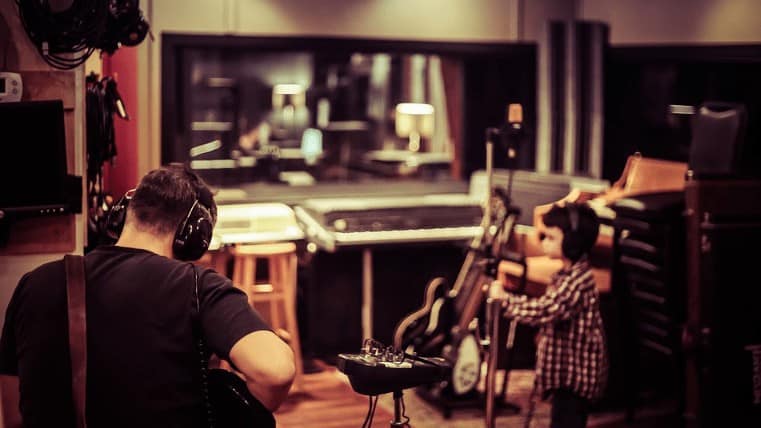
Are you struggling to choose the perfect room for setting up your home studio?
Don't worry.
We are with you to help you choose the perfect one.
The kind of room you use for your studio space is super important. I cannot stress this enough.
I know you must have heard about some acoustic solutions that you can apply to bad sounding rooms; but trust me, some problems are best to avoid, rather than try fixing it.
Some rooms are terrible for sound, and they will only undermine your efforts. You may be better off using your money to pay for higher rent elsewhere. There are few things that frustrate creative work more than a bad working space.
Of course, there's no ideal recording room. The nature of sound waves has made that impossible. I think that at this point, I should say one or two things about sound waves.
When sound waves move in a room, the surfaces in that room have different effects on the sound that can cause alterations and compromise the original sound as a result.
If sound waves hit a surface, most times, the sound is reflected. Think of it as throwing a bouncing ball against a wall. It bounces back at you, right? Now, imagine throwing lots of tiny bouncing balls at the different surfaces in a room.
That's what it would look like if you could see sound waves move in a room. While no room is perfect, there are levels to the destruction that these reflections can cause.
There's a little trick I use to determine which room will be better for sound.
Step 1:
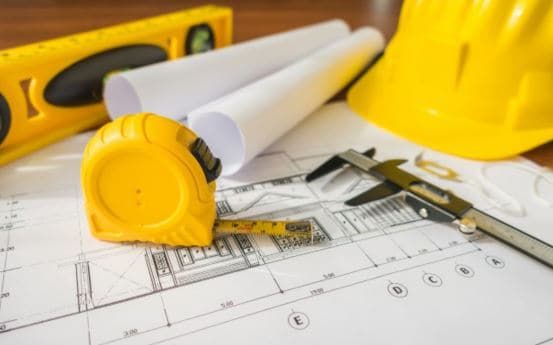
The first step is to know the dimensions of the room. When this is done, it's time for some simple math. Look at the numbers and see if they're divisible by the same number.
Here's what I mean:
If your room's dimension is 7' by 9' by 11', it will cause you less problems that if it was 6' by 8' by 10'.
Here's why: 7, 9 and 11 are not divisible by the same number, but 6, 8 and 10 are. The 6' X 8' X 10' room will cause more problems because it will have more problem frequencies.
Always keep this in mind when choosing a room for your recording studio.
Step 2:
Asides from the wall dimensions of the room, the ceiling height is also a crucial factor while choosing a room.
You may be wondering what a ceiling has got to do with the sound.
Here it is:
There are some instruments whose sound waves travel upwards naturally. An example of such an instrument is the drum cymbals.
If your studio ceiling is too low, the sound will easily reflect off the ceiling and tamper with the original sound.
When you have to use overhead mics, it gets much worse, because you don't have enough height for mic placement, and the mic eventually captures the reflection caused by the cymbals.
Now, what is the minimum height requirement for your studio ceiling?
A high ceiling of at least, 10 feet is good enough and will eliminate the unnecessary reflections to a large extent.
Step 3:
How about the studio floors?
Ordinarily, you would want your floor to be soft; may be covered with carpet or other material, and your ceiling to be hard.
Well, for a recording studio, it is the other way around. It is better to have a hard floor and a soft ceiling. The floor reflections are good for sound; the ceiling reflections, not so much.
Treating your recording room acoustics
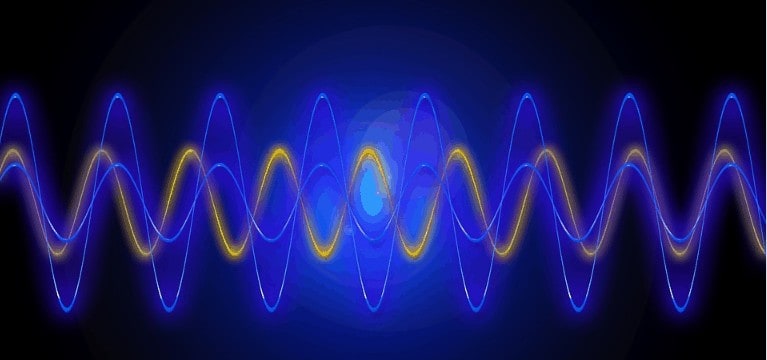
When you have chosen your room, the next thing to do is improve the room acoustics.
Regardless of how good your room may be for sound; you still need to fix the acoustics to get the best results.
Basically, it is always better to have more control over how your room sounds and not leave too much to chance.
In most home studios, everything is handled in one room; from songwriting to the mixing and mastering stage; so it makes sense that we fix the acoustics for the whole room at once.
It's very easy to assume that you should bombard your room with acoustic materials to prevent the reflections.
Not really.
There's a strategic way to go about this. Remember that we're not trying to eliminate reflections; we're controlling them and removing unwanted ones.
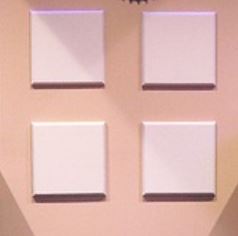
You can achieve this by having the one end of your room with the acoustic panels and the other end without them.
This approach is called the live end, dead end method. Usually, the wall that's closest to the monitors and computer is used as the dead end, with the absorbent material fixed on the wall behind.
The opposite wall is the live end. The essence of all of this is to leave some reflection so that your studio still has a little natural reverb to it.
For the dead end, you don't just put the panels on the walls, there is a method to it.
If you walk into an empty room and clap loudly or make a sound, you are likely to get an idea of the reflection in that room; but that's all you can get an idea.
This is because your ears are not sensitive enough to pick reflections at some frequencies; especially the lower ones.
So, you may conclude that a room sounds good, based on your ears' perception of high frequencies, while there is still lots of reflection in the lower ones.
The danger here is that when you start recording music in this kind of room, bass part and low-frequency instruments start to sound boomy, and you start making unnecessary cuts to deal with it.
At the end of the day, your music will be lacking in bass.
Having a thick carpet on the floor will greatly reduce high-frequency reflections. However, this is not a compulsory move. If your room does not give too much high-frequency reflections, a thick carpet will affect the high frequency you perceive from your music.
You will always be tempted to add some high-frequency boost to your music to make it shine through; before you know it, it's sounding harsh.
As a music producer, I know how annoying it can be when you think you have made a beautiful song, send it to your friends and they start asking "but why does it sound so harsh?"
Meanwhile, all you did was boost some high frequencies because your room absorbed too much of it.
So, the goal is not to deal with a few frequencies.
What you need to do is, make sure that reflections across all frequencies are brought to the barest minimum. You can do achieve this by reducing the decay time of the reflections considerably, such that it dies off before hitting the next surface.
Even if the reflection does hit it, it should be at such slow speed that it won't make it to the next one. Materials used for this purpose are called broadband absorbers.
Rockwool is a very popular material for the broadband absorber. You should use at least 10cm thick Rockwool. If you have more space and/or money, make that 30cm. It makes the absorber more effective at dealing with low frequency reflections.
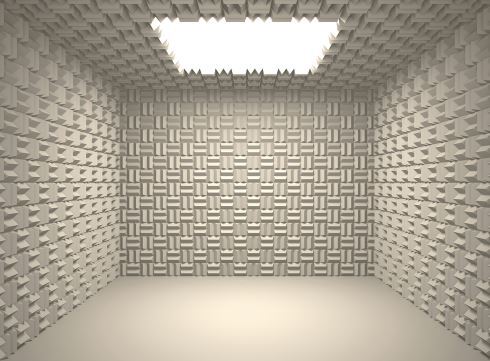
Simply glue the absorber on a wooden frame, piece by piece. When you're done, cover the absorber with a piece of cloth to prevent it from breaking. Attach the cloth to the back of the wood.
If you have space, leave about 10cm between the absorber and the wall of your room. This helps with low frequencies. Other broadband absorbers that you can use include Basotect and Melamine foam.
About a third of your dead end should be covered with broadband absorber; that's the minimum. The ceiling is also important, especially if it's not as high as 9-10 feet.
You can glue the absorber to the ceiling (with the wooden frame) or hang the absorber from the ceiling with strong cords. The latter is better; it's easier to remove the absorber that way.
We want the live end to reflect sound, but at the same time, there's a kind of reflection we want. The reflected sound should be as scattered as possible. Unfortunately, a smooth surface cannot give us that.
This is why you need diffusers. Ready-made diffusers are uneven surfaces. When sound waves hit irregular surfaces, the reflection that occurs is a very scattered type, called diffusion.
Ready-made diffusers can be quite expensive, building one by yourself is not easy either. A quick fix that people use is bookshelves.
You can have bookshelf against the wall, but make sure that the books are not arranged too neatly. Mix up different book sizes so that you have a lot of edges.
Another hack is to use different instruments to line the wall surface. It can be synthesizers, guitars, and so on. The goal here is to provide an irregular surface.
They will definitely not be as effective as an actual diffuser, but it's far better than a bare wall. Besides, having a bookshelf or musical instruments on a side of your studio may turn out to be some nice aesthetic.
Bass can be a real issue when fixing your room acoustic. As a matter of fact, bass is always a serious topic in any sound related discussion—headphones speakers, microphones, name it.
This is where most audio equipment gets its negative reviews. Even though the broadband absorbers do a pretty good job across frequencies, there is still a need to pay close attention to the bass.
This is why we use bass traps. You should place bass traps in the corners of your room. That's where they are most needed. Sadly, I don't have a DIY hack for bass traps; but you can use a big couch at the corner, at your dead end.
If you have extra traps, you can use them for your live end too, but they're most important at your dead end so that you can be sure whatever you're listening to is accurate.
Also, remember; we're setting up a recording studio. You need to make your room very conducive for music making.
Too many traps and absorbers will make your room sound "too dead" that you can't even perceive any reflections. A singer will not enjoy singing in that kind of environment. So, always remember: Balance is key.
How to arrange studio monitors ?
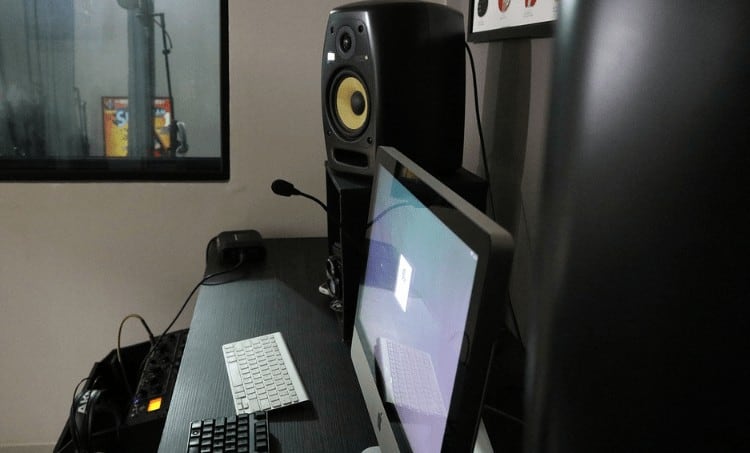
Something interesting happened to me a few years ago. I mixed and mastered a song for a client. He called after a few days to complain about one or two things. His complaint was with too much midrange in the song.
I listened to the song many times over, and I still couldn't hear the problem. He had to come over to the studio so we could look at it. We played the song over again through the monitors; as expected it sounded good.
He was of the opinion that my monitors were flattering the sound, so he advised that we listened from his phone. I agreed, but on the condition that I used my headphones. (I consider these headphones my best friend because they always tell me the truth).
You can imagine my surprise – when I heard the amount of midrange I was hearing. It was like somebody turned the 1KHz knob up with a 5db gain. I told him to play a popular song from the same pone, just to check.
Then it became obvious: His phone was screwing everything up. My headphones still said the truth, just that his phone distorted the original information.
This is the kind of effect you can have when you have good monitors but a poor arrangement.
There are certain guidelines you should use if you want the best results. Although, I would advise you not to take this as any rules of sorts, just guidelines, or better still, a good place to start from when arranging your monitors.
The first thing you need to figure out is where to sit, better known as your listening position. Of course, you would hear your speakers from any spot in the room, but the person at the console needs to be in a vantage position to get the best results.
You would be underutilizing your monitors if you are not properly positioned to get the best from them.
You should be as far from the wall behind you as possible while facing the short wall in your room. You will need this space especially if you don't have a proper diffuser on your rear wall.
Even if you do, you still need some space behind so that diffused sound waves do not affect what's coming from your speakers.
There are two listening positions that you must avoid: sitting with your back very close to your rear wall, and sitting at the center of the room, lengthwise.
Here's why: There is a bass null at the center of the room.
If you're listening from this point, bass frequencies would be grossly understated. Also. If you are close to the rear wall, unless you have very thick broadband absorbers there, the reflections may mess up what you're hearing.
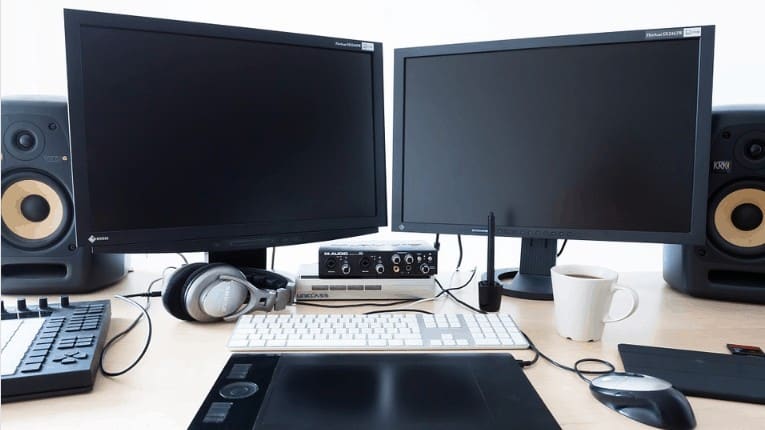
Now, let's talk about the actual speaker placement. I'll assume you are setting up a home studio here, so we'll be talking in terms of a stereo listening field arrangement.
The common practice is to have the two monitors arranged such that they form an equilateral triangle with you, when you're sitting in your chair. This means that there will be equal distance between the two speakers, and from your sitting position to the speakers.
However, there's a slight adjustment to that rule. Since it's your ears that actually receive the sound from the speakers, it makes sense that your calculations should start from the sides of your head.
This means that an imaginary line drawn from the speakers would meet just behind your head.
The monitors' height is also important. Since the higher frequencies are more direct, you should position your monitors that the tweeters point directly at your ears.
Also remember, place an isolation pad between the monitors and the surface they're on. It prevents the surface from messing up the sound.
One more thing, by all means, avoid tilting your monitors vertically. It's not a taboo or anything; it's just being on the safer side. If you tilt your speakers, any forward or backward movement from your sitting position causes considerable change in frequency response.
Additionally, talking about height, please make sure that your speakers' height is not exactly half of the room's height. It should rather be more or less.
Lastly, let's talk about the distance between your monitors and the walls. This part is quite tricky because there are so many things to consider. Placing the monitor speakers close to the wall in front of you, and placing them a bit fat from the wall have their own benefits.
When they're close to the wall, some there's reflection of bass frequencies. This is because bass radiates from the back on the speakers, so, reflection occurs when they hit the wall.
The good thing here is that the closer the speakers are to the wall, the higher the reflecting frequencies. Since higher frequency reflections are easier to treat, that's a plus.
The point here is this: If you're placing your speakers close to the rear walls, make sure you place them as close as possible.
On the other hand, you can choose to make them far from the wall. If you leave enough distance, the reflections will remain in the very low frequencies; too low for your speakers to pick.
Apparently, when it comes to monitor speaker placement in a home studio, you either go hard or go home.
What Gear do I need in my Home Studio?
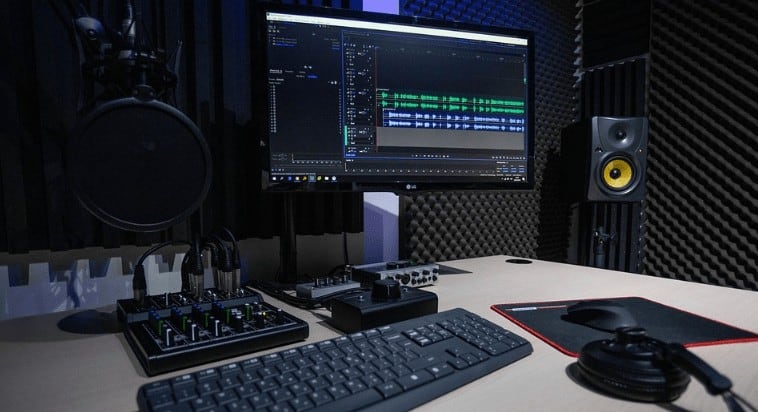
1.Computers
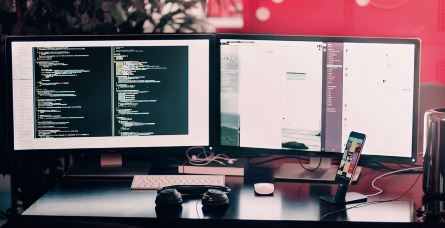
The first question that usually comes to mind when talking about computers: a laptop or a desktop? This eventually boils down to personal taste, so I'll just state the benefits of both here.
The most obvious advantage of a laptop is mobility. You can't carry your desktop computer around like you would a laptop. But then, not everyone needs to carry their stuff around.
Personally, I do my recording with my laptop; this is because I move around a lot and sometimes, I have to travel several kilometers to do a recording. The desktop has a number of benefits too; the first one is the price.
If you check the price of a laptop and compare with a desktop with the same specifications, the desktop computer will always be cheaper.
So, for the same amount of money, you would get a desktop with better performance than a laptop.
2. RAM
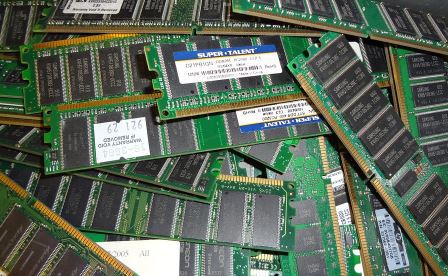
Please go for a RAM of at least 8gb. This one would serve you better. Also, if you cannot afford that yet, you can buy a 4GB RAM computer that has space for an additional one; same goes for 8GB RAM computers too.
That way, you do not always need to change your computer if you want to improve the performance. Simply buy another RAM and add it to the one already in use.
3. Hard Drive
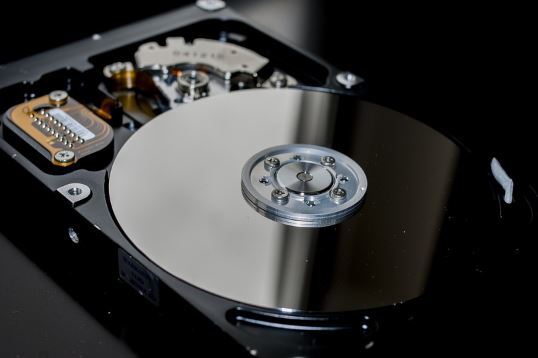
Four words: SSDs are the best! Although they are more expensive than HDDs, SSDs increase your computer's speed a whole lot. Your plugins load much faster, and even DAWs respond quicker.
However, you may have to compromise on size, otherwise be ready to spend more. If you have to use HDDs, please stick to 5400RPM or more.
4. MAC or PC?
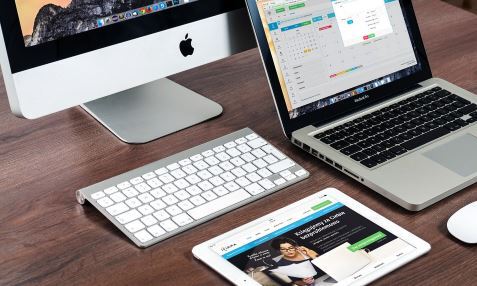
The only major difference that you would notice between a MAC and a PC is if you're trying to use a software that is exclusive to MAC. Take Logic as an example. It is only available on MACs, and it's one of the best DAWs on the market.
Besides this, there's really no concrete difference. I say this because if you take a MAC and a PC of the same price, you wouldn't find much difference in terms of performance.
One thing you should also consider is the popularity of the device in your locality. As you meet other music makers, you share ideas, and even software. If all your producer friends have MACs and you're the only PC guy, you may be left out of the goodies making the rounds.
5. Ports
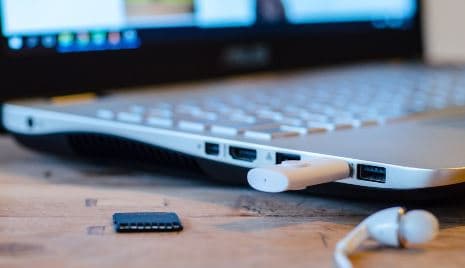
Nowadays, everything has shifted to USB ports. However, some older gear still connect using firewire cables and others. In this case, you may need to get a computer with these ports.
If you're going for USB, make sure that at least one of the ports is a USB 3.0 port–It's much faster.
6. CPU (Number of cores)
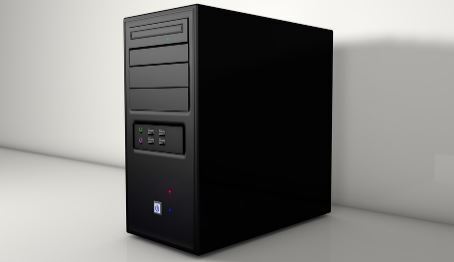
If you have enough on your budget, go for the very best; 16 cores, 5GHz frequency; like the new Intel Core i9 processors. There are other options that are really good and less expensive, like the quad core and dual core processors. Just try as much as possible not to go below 2.6GHz.
7.Audio interface
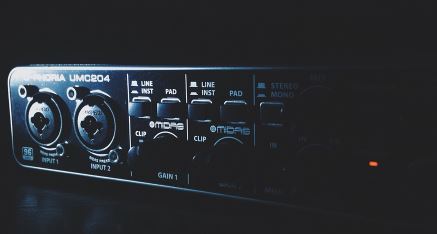
The audio interface is the bridge between your computer and the rest of your recording gear. The range of prices for an audio interface is quite wide. The major difference is in how transparent they are.
While transmitting information from your microphones and instruments to your computer, and from your computer to the monitors, accurate representation is important. This is what we call transparency.
In choosing an audio interface, you should be sure of how many inputs and outputs you need, and how many are available on the interface. Some can have up to 8 inputs, while others have just two.
Most audio interface are equipped with preamps. The quality varies from one interface to the other,, and the number of preamps also varies depending on the inputs available.
For starters, the in-built preamps may do the job, but as you go, you will need dedicated preamps for better results.
8. Microphones
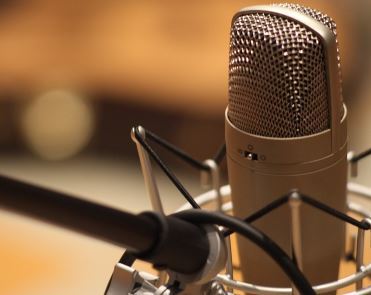
For home studio use, I'll recommend large diaphragm, cardioid condenser microphones. Here's why: The large diaphragm ensures that they capture a rich recording.
Vocals will have their warmth and other properties well represented.
Cardioid pattern is good for your home studio because it only picks what's in front of it.
That way, you have more control over what's getting in and what's not.
I will not advise you to buy USB mics. Leave those for podcasters and YouTubers. Most USB mics will undermine your recording.
Please, avoid them.
Here are some mics you should consider for your setup:
- Rode NT1A (My best pick)
- AKG C214
- Rode NT2A
- Rode M5
- Rode NT5
We have already reviewed them and if you want to choose the best microphone for your home studio then you should look at these posts that are handpicked for you:
- AKG C214 vs RODE NT2A: Which is the Best Condenser Mic for Voiceover?
- Rode M5 vs NT5: Here Is Our Best Pick!
- AKG C214 vs AT4040: Let's Settle This!
- Rode NT1 vs NT1A: Which One is Best for Vocals?
9. Studio monitors
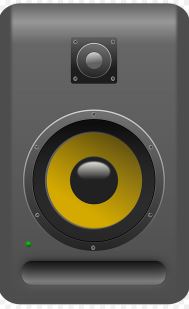
Studio monitors are the speakers specially made for recording studio use. The quality of a set of studio monitors is determined by how flat the frequency response is.
You don't want a pair of monitors that will flatter your sound and make it seem better than it actually is. You would be disappointed when you listen with other mediums. This is the major difference between studio monitors and regular speakers.
Speakers are made for music consumers, so you can expect them to flatter the music to a very large extent.
If you will use consumer speakers in your studio, it should be to check your music on other mediums. You should not mix and master with them.
You can also use consumer speakers to play your music for prospective clients. If you're trying to impress someone, you need as much flattering as you can get.
What to consider when choosing studio monitors?
Active monitors have in-built power amplifiers. All you need to do is plug the in to the power source and they're good to go. For passive studio monitors, you need to use an external power amp to drive them. If you ask me, that's too much unnecessary trouble.
For your home studio use, stick to near field studio monitors. The others are for pro studios in large facilities.
The issue here is the low frequency boundary. Make sure your studio monitors can do at least 40Hz. Anything higher than this, they won't be able to represent bass accurately.
10. Headphones
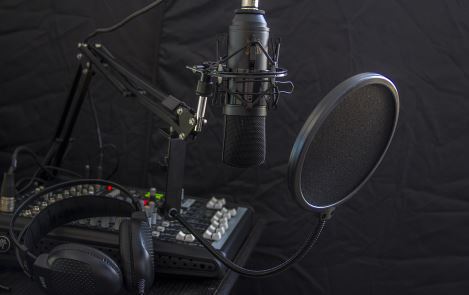
Headphones are important in the studio for two major reasons: For whoever is recording to hear the instruments and other elements, and for monitoring, mixing and mastering. These two major uses will determine the kinds of headphones to use.
Open back headphones allow for some sound bleed in and out of the headphones, through the earcups. If you use them for recording, you will have to deal with the headphone bleed while mixing. It's better to stick with closed back headphones for this purpose.
Closed back headphones do not allow sound to seep out, but they may have issues with bass buildup, which may compromise your mixes.
Most headphones do well for short term use, but if you use headphones for mixing, you should go for super comfortable ones. After a few hours, headsets can start to feel really heavy.
11. DAW
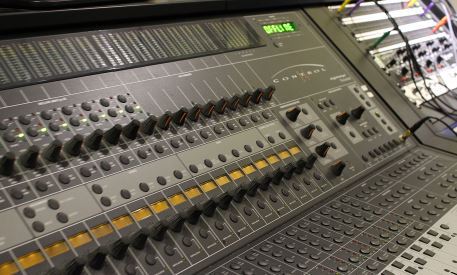
A Digital Audio Workstation (DAW) is a software that is used for recording, mixing and mastering music. It's the platform that helps your computer communicate with your audio interface and MIDI instruments.
Simple answer? None! This is an argument that will probably never end, because people have their preferences. It's like saying red as a color is better than blue; it all just boils down to personal preferences.
All you need to do is try out a few DAWs, choose one that works for you and master the workflow. However, you should get familiar with as many popular DAWs as you can. It helps a lot when collaborating with other creatives.
Here are some of the current most popular DAWs:
- FL Studio (My favorite)
- Ableton Live
- Cubase
- Studio One
- Logic
- Pro Tools
- Reason
…in no particular order (FL is king though)
While we've talked about your basic starting tools, there's still stuff to learn; VSTs, Plugins, workflow and others. But at least you can now set up your home studio first, and we can get to that later.
12. Cables
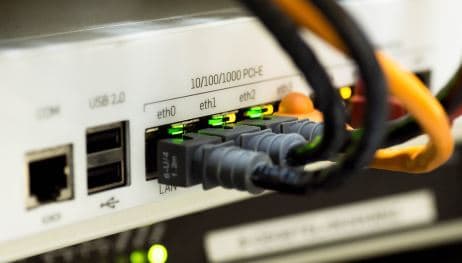
You would need cables to connect all of your equipment to each other. Typically, your equipment should use XLR cables, a ¼' jack cable, a USB cable and possibly firewire cable. Whichever ones you buy, just make sure you invest in quality cables.
They may be more expensive, but in the long run, they are much more durable and give you less issues while recording. Additionally, cable arrangement is very important in your home studio setup.
You could topple expensive equipment if you keep tripping on poorly laid cables. As much as possible, get your cables out of sight. Try to lay them along the boundaries between the walls and the floor, so that they're completely out of the way.
Also, your power outlet should be hidden. Depending on how your studio is arranged, use a relatively hidden space for your power outlets. Lastly, no naked cables please.
13. MIDI
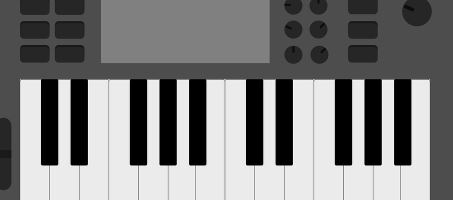
MIDI is an acronym for Musical Instrument Digital Interface. It is a system of communication used for recording, controlling and editing sound in DAWs. The most common type of MIDI controller today is the MIDI keyboard.
There are others, which are used to control different features in DAWs. Some DAWs even have MIDI controllers custom made for them, so you are not distracted by too much mouse clicking during your work process.
FAQs
What is the best acoustic treatment for a room used to record drums?
There are two options when you are recording drums; it's either you are tracking the drums in isolation or you're recording it alongside other instruments. Either way, you must pay close attention to the ceiling.
It should be covered with broadband absorbers; even if it's just the part above the drums. Also, the walls closest to the drums must be covered with broadband absorbers.
What's the difference between soundproofing and acoustic treatment?
Soundproofing is the process of preventing sound from getting in or out out of a room or building. It can involve blocking of windows, and spaces in doorways, using concrete material while building to keep the sound in and others. It definitely does NOT include the use of acoustic panels.
Acoustic treatment is about reducing reflections to increase the quality of sound perceived in the room.
Conclusion:
This is all about setting up a home recording studio. Follow this guide carefully to get most out of your recording room with right set up. If I missed anything to say let me know them in the comment section.
Hope you guys found this epic guide helpful.

