Have you ever wondered how to replace the needle on a record player within just a minute? Are you searching for an easy-fixing strategy for replacing your stylus? Well, you have landed on the right page. I am going to discuss the whole procedure in a few simple steps. So, without further ado, let's get started!
Read Also: Best Place to Buy Vinyl Records: Top 17 Online and Offline Stores
How Does the Needle on a Record Player Work?
I'm sure you know the needle's absolute importance and its working mechanism on a record player. However, let me just recap how it works for the newbies out there.
- The tone arm (also known as the long arm) has a part that makes direct contact with the vinyl records.
- The needle (also known as a stylus, btw) traces the little grooves from the vinyl record and sends the vibration to the cartridge.
- The magnetic cartridge then interprets the electrical signals, and the amplifier and speaker spread the sound to your ear.
That's how you hear the sound coming from a record player. So, the sound quality highly depends on the needle. If there is any problem with the needle, you will hear only distorted cacophony or no sound at all.

How to Replace the Needle on a Record Player? Change The Record Player Needle in 6 Easy Steps
Well, it's time to explore the needle replacement procedure. I've detailed the process with some simple steps. Before you dive in, let's make sure you have the following tools in your repertoire:
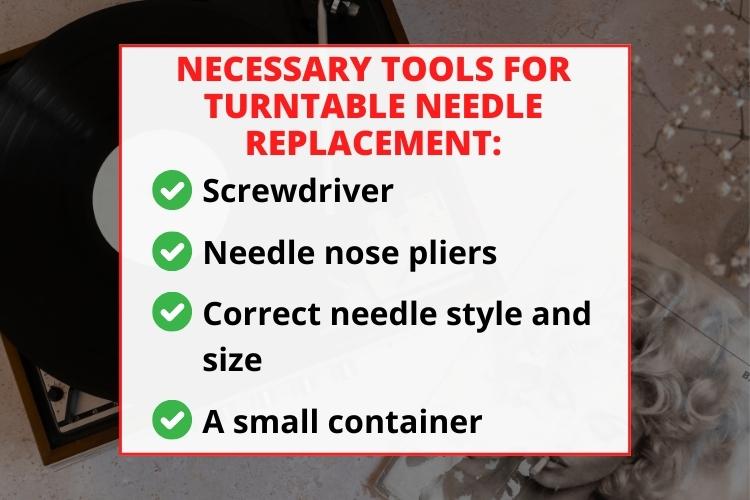
- Screwdriver (smaller one would do).
- Needle nose pliers.
- Correct needle style and size (double-check this).
- A small container.
Now, let's focus on the replacement parts. Make sure you have clean hands before touching the record players.
Step 1: Get the Correct Replacement Needle
I'm emphasizing the correct size because many people confuse and buy the wrong replacement stylus. As a result, they make the situation worse. All needles are not suitable for all players. So, you should purchase the exact new needle to play records.
Step 2: Unscrew and Remove Turntable Cartridge
Well, you need to unscrew the entire cartridge to install a new needle there. It's a tricky stage, so you need to focus. Here's how to do it:
- First, take the screwdriver and start unscrewing the cartridge from the long arm.
- After removing the screws, keep them in a safe container.
- The next step is to detach the old cartridge by disconnecting the wires attached to the tone arm.
- Carefully use the plier to detach the wires from the cartridge. Don't put force on the wires much so as not to mess anything up.
- After that, keep the cartridge in a clean container as well.
Step 3: Remove the Worn or Old Needle
Wait! Before removing the worn needle, clean your hand and keep it dry. Now, gently pull or slide out the needle from the cartridge. Use your fingers, but don't use sheer force here.
Read Also: Best Record Player for Beginners: 10 Top Options for Music Lovers
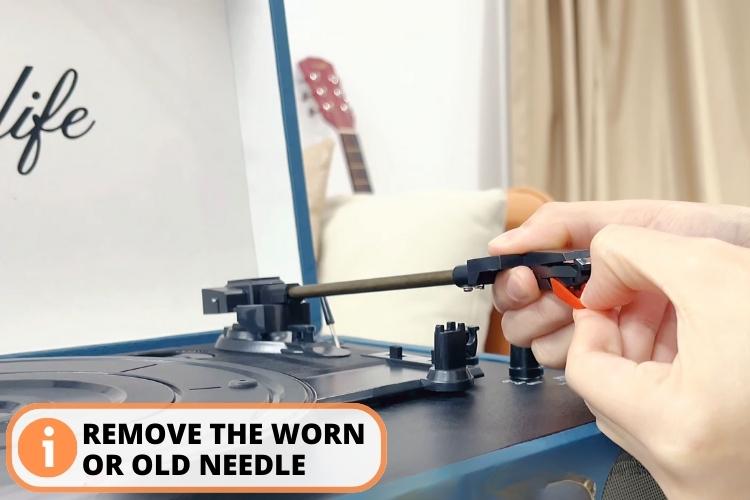
After removing the need, don't just throw it away. Keep it on a towel or rag to compare the model with your new needle.
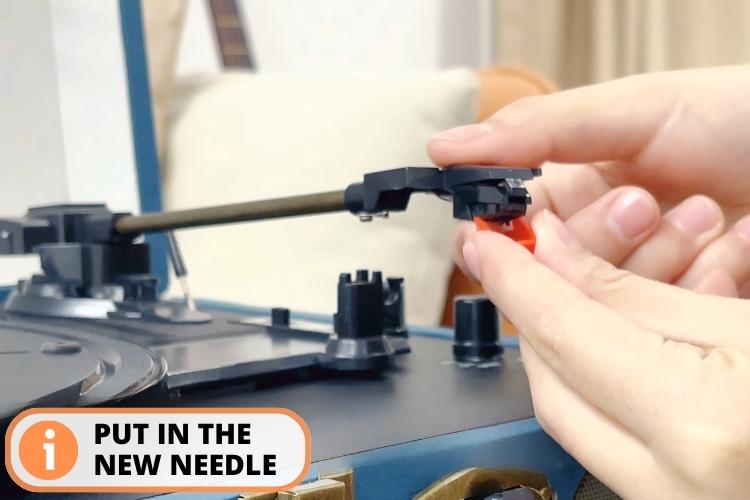
Step 4: Put in the New Needle
Now, you have to install the fresh needle. Take the needle and slide it exactly on the same spot as the cartridge. Do it as gently as possible. You may push it to get to the right place.
Step 5: Reconnect the Cartridge
It's now time to reconnect the cartridge back to its tone arm.
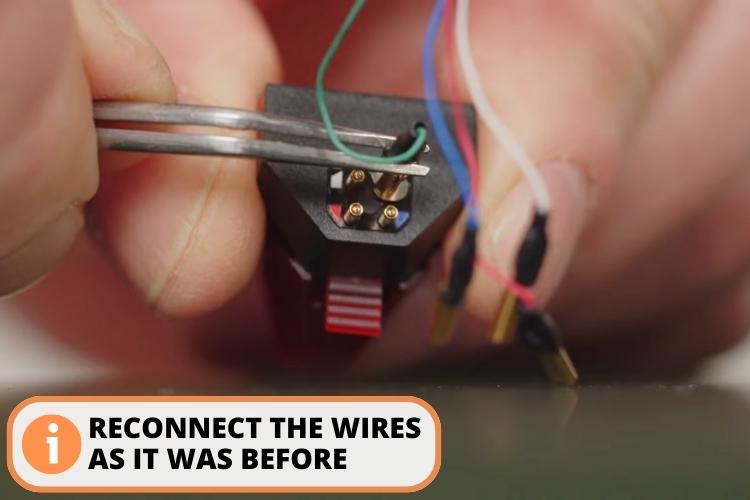
- First of all, reconnect the wires as it was before. Be careful here because a slight change can distort the noise extensively.
- Now screw the cartridge back into its tone arm. Ensure that you have tightened them properly.
- Don't overtighten or keep the cartridge loose. You can wiggle it to get an estimation.
If there are problems with the cartridge itself, install a new cartridge here.
Step 6: Play a Record and Check for Sound
Once the replacement needle is installed, you should check the sound quality by playing records. If everything is alright, you shall get the proper sound. But what if there is a distortion or problem in the noise?
Well, in that case, detach the cartridge again and check whether you have placed the replacement needle correctly or not. Watch this video to get a clear overview of how to change the record player needle:
How Do You Know It's Time To Change The Needle?
There are no hard and fast rules about when to change your needles. However, some signs will tell you the exact time of needle replacement. Note the following points:
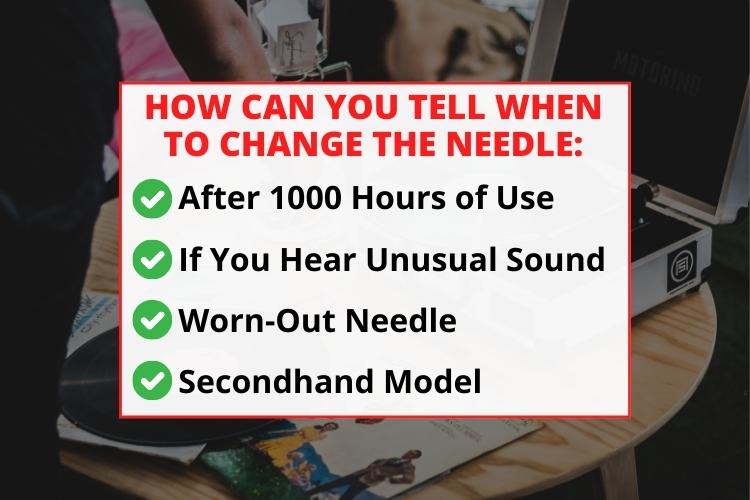
- After 1000 Hours of Use: I always recommend changing the record player needles after using it for a thousand hours. The duration may vary depending on the specific needle.
- If You Hear Unusual Sound: Whenever there is any problem with the needle, you shall hear an unusual distorted noise. If cleaning the old stylus does not solve the noise issue, then changing the needle is the only solution.
- Worn-Out Needle: Most needles begin to wear out after a certain period of time. You can see grooves on the vinyl records, and there may be unwanted scratches around. These are signs to replace the needle.
- Secondhand Model: There will always be some people who want to collect and use a vintage record player instead of a new one. But these players often have flaws, including the needle. So, I would suggest changing the needles even if there is no visible damage.
Do I Need to Replace the Stylus or Cartridge?
Whether you should replace the stylus or the cartridge depends on certain things. Usually, changing the old needle is the best possible solution. However, you can do both as per the necessity.
Read Also: Victrola vs Crosley: Which Record Player is the Best?
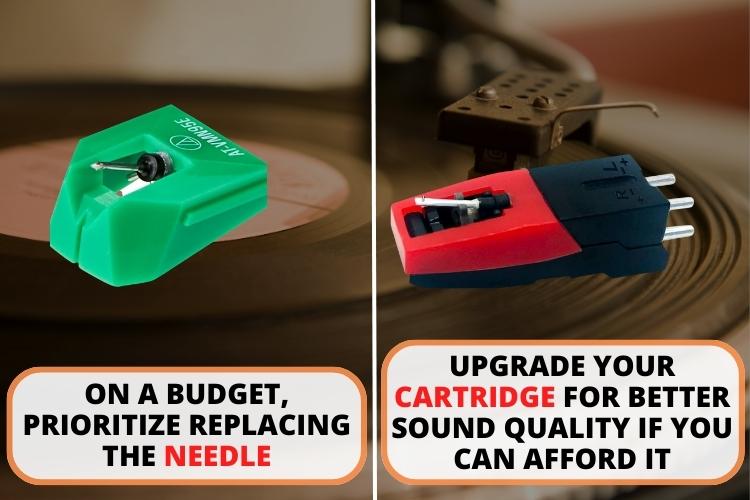
- When you have a limited budget, you should just replace the needle. Needles require regular replacement, as they wear out faster than cartridges.
- If you haven't upgraded the cartridge for a long time and you have enough money to spend, you should definitely install a new cartridge. It shall improve the sound quality manifold.
How to Replace the Entire Cartridge of a Record Player?
If you have decided to replace the cartridge record players, let me help you with the process. I am going to discuss the replacement process in a step-by-step guideline. Here we go!
- Step 1: First of all, take a flathead screwdriver and complete loosening the screws.
- Step 2: Now, you have to unplug the four wires. It is crucial you gently pull the wires by holding the plastic parts.
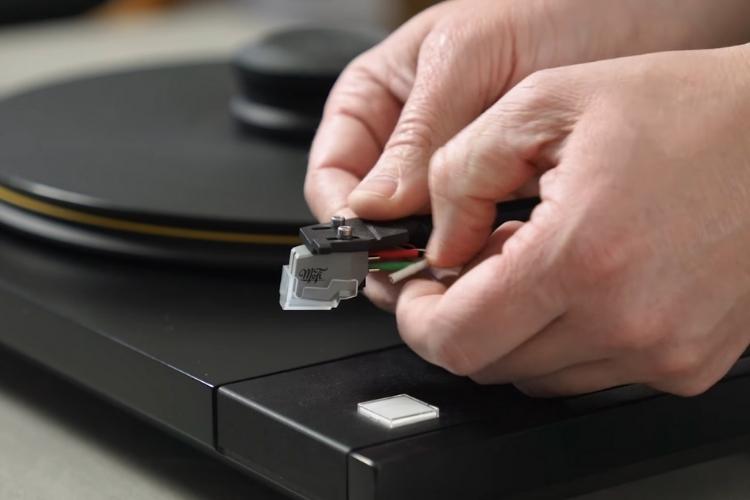
- Step 3: When you have detached the wires, you can install new cartridges. Start attaching the wires to the tonearm. Install each wire into its corresponding colors.
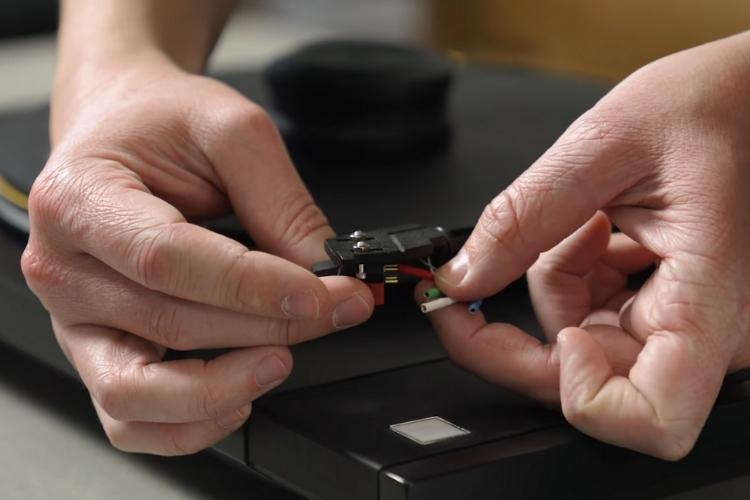
- Step 4: Carefully put the screws in the right place. Use your fingers if required. However, don't make the two screws tightened yet.
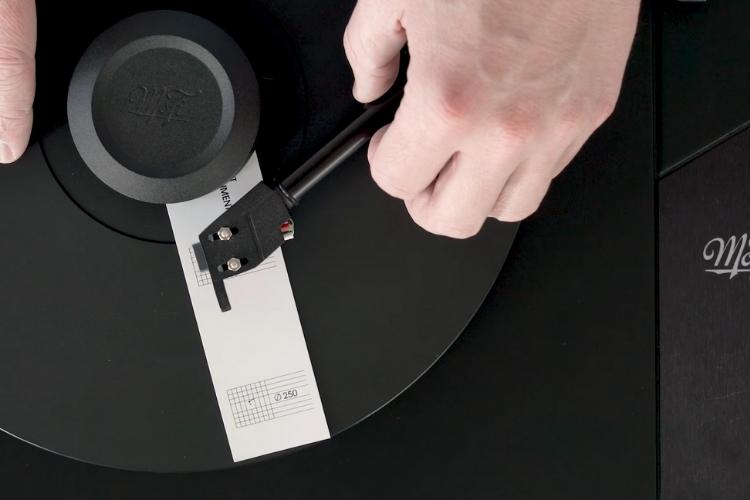
- Step 5: Now, use an alignment protractor tool to ensure you have aligned the cartridge in the proper place. Note that the alignment protractor tool must be compatible.
- Step 6: Here comes another crucial step. You should use a stylus force gauge to ensure your VTF is right. You can check the cartridge documentation to get specific VTF.
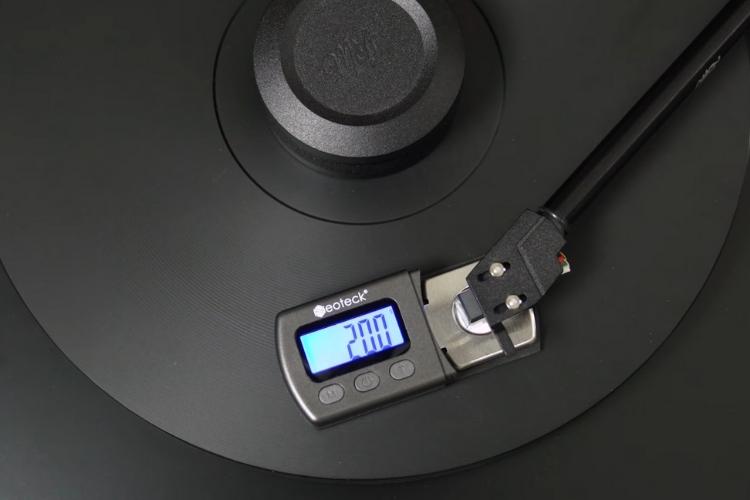
Now, you are ready to listen to your favorite record.
To understand the cartridge replacement better, you can watch this video:
Frequently Asked Questions
Yup, you can easily replace the needle instead of the whole cartridge on a record player.
You should replace the needle after using it for a thousand hours. You can change it a bit earlier or later if you feel so.
No, any needle cannot go on a record player. There must be congruity between the needle and the tonearm.
To fix a sliding needle on a record player, you should place the turntable on a flat surface, clean the stylus, and the anti-skating settings should be 0.
To remove the needle guard from a record player, follow these steps: Locate the needle guard > Release the locking mechanism > Remove the needle guard > Set it aside in a clean place, and handle the tonearm with care.
Usually, I suggest changing the entire cartridge every 2 years of use. Though it may last up to five. It depends on the extent of your use and the quality of the cartridge.
Conclusion
Now you know everything about how to fix a record player needle. It's an easy-peasy task, and you just need to be careful not to damage the cartridge or the wires while replacing it.
It is optimal you get the correct needle and then remove the old cartridge. After removing the wires, you should install the new needle and then reconnect the cartridge as it was before.
If you feel distortion in sound quality, check for any damaged wires or grooves on the record. Installing a new cartridge can also be a good solution.
Our other posts to read:
Are Victrola Record Players Good? Yes Or No, Find Here!
Victrola Record Player Skipping: 6 Best Solutions Listed!
MM vs MC Cartridge: Check Right Now Which Is Best?
Are Crosley Record Players Good Choice To Buy in [y]?
Ortofon 2M Red vs Blue: Which Cartridge Wins? 6-Factor Guide
Skullcandy Indy Evo Pairing: 5 Reasons They Are Not Pairing
JLab Earbuds Not Charging? 11 Easy Ways to Fix the Problem
How to Reset Turtle Beach Stealth 600: 4 Quick Solutions
How to Turn on the Noise Cancelling on Beats Studio 3?
Sonos Roam Bluetooth Pairing in No Time: Troubleshooting Guide

