Does your voice get distorted, and you don't know how to turn on the noise cancelling on Beats Studio 3? Then I've got the perfect solution for it.
Read on as I'll show you how to activate noise canceling on Apple and Android to unlock the full potential of your headphones. So, let's dive in and make your Studio 3 work even better for you!
Read Also: Beats Studio 2 vs Beats Studio 3: Similarities and Key Differences
An Insight Into the Noise Cancelation and Transparency Mode
In simple terms, Active noise cancelling makes use of the mic inside the headphones that captures the external sound and then blocks it by producing an anti-phase sound wave. You can find it extremely useful when you want to enjoy your music without any surrounding noise.
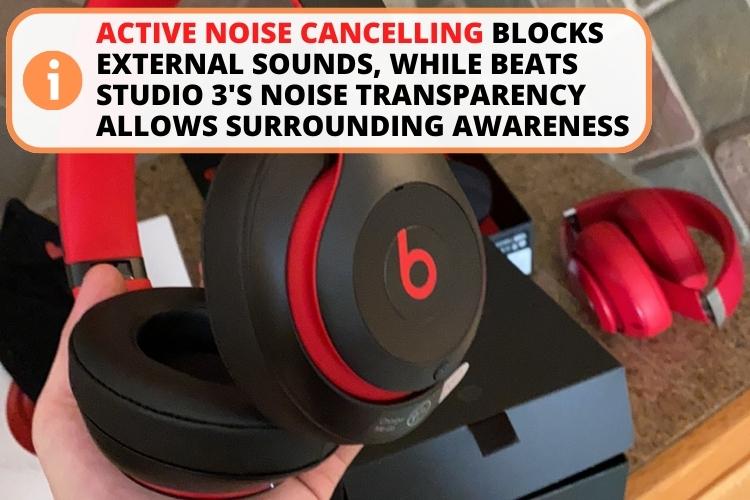
On the other hand, the Noise Transparency feature on Beats Studio 3 headphones is designed to allow users to hear and interact with their surroundings while still enjoying their music or audio playback. It's valuable when walking on busy streets, traveling, working, or when there is outside noise.
Here are some of the key features of Noise Transparency:
- External Sound Capture: The headphones have built-in microphones that capture external noise, including ambient noise and conversations.
- Adjustable Transparency Level: It offers an adjustable transparency or ambient sound level. With this, you can easily control how much external sound is mixed with your audio. This adjustment can often be made through a companion app or directly on the headphones to turn on the transparency mode.
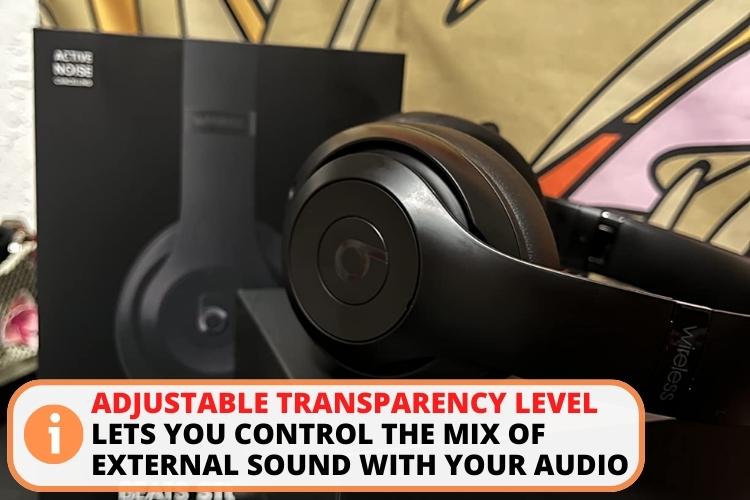
- Improved Awareness: Noise Transparency enhances awareness of what's happening around you. It's especially useful when you must be alert for announcements, traffic, or conversations without removing your headphones.
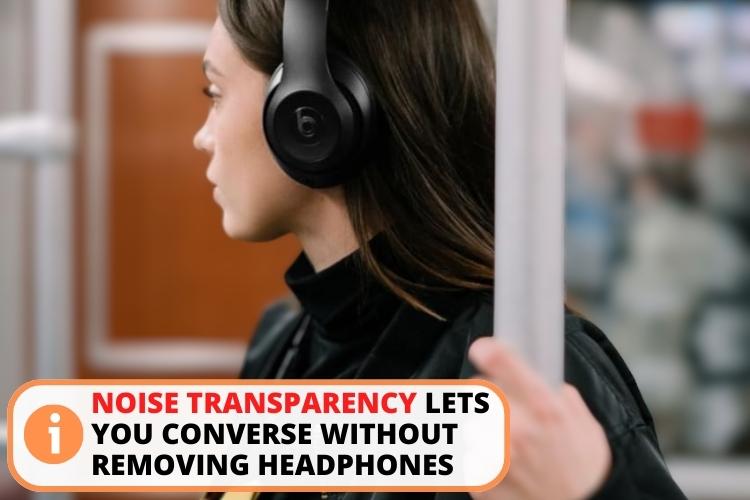
- Engaging in Conversations: With Noise Transparency, you can participate in conversations without taking off your headphones. This makes interacting with people around you convenient while still enjoying your audio content.
Turning On PANC On Beats Studio 3 Headphones
Beats Studio worked hard to enhance its noise-canceling feature. They refer to their tech as Pure Adaptive Noise Canceling (PANC). To turn it on, follow these guidelines:
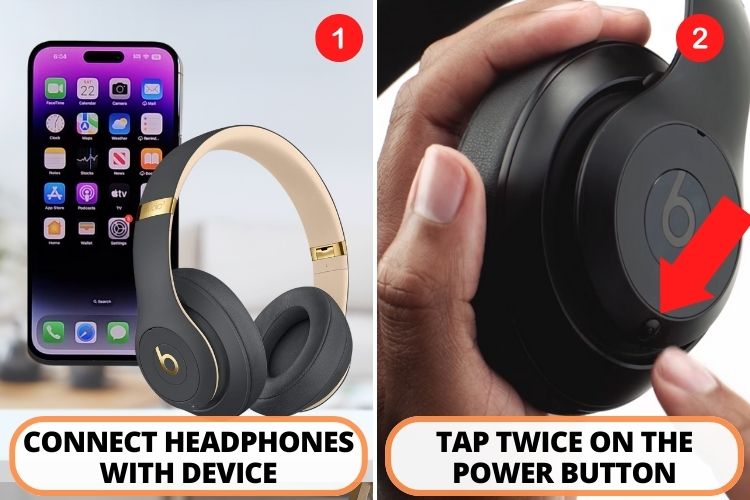
- First, connect your headphones with your device like any usual pairing.
- Once the pairing is successful, tap twice on your power button. This would activate PANC.
Read Also: JLab Earbuds Not Charging? 11 Easy Ways to Fix the Problem
How to Turn on the Noise Cancelling on Beats Studio 3 For IOs and Android Devices?
Let's look closer at how you can turn the noise cancellation feature ON or OFF on Beats Studio 3 headphones using different platforms.
On Apple Products:
To turn ANC on, you need to do the following:
- Power on the device and connect it to your IOS device via Bluetooth. Use the power button to turn on the device.
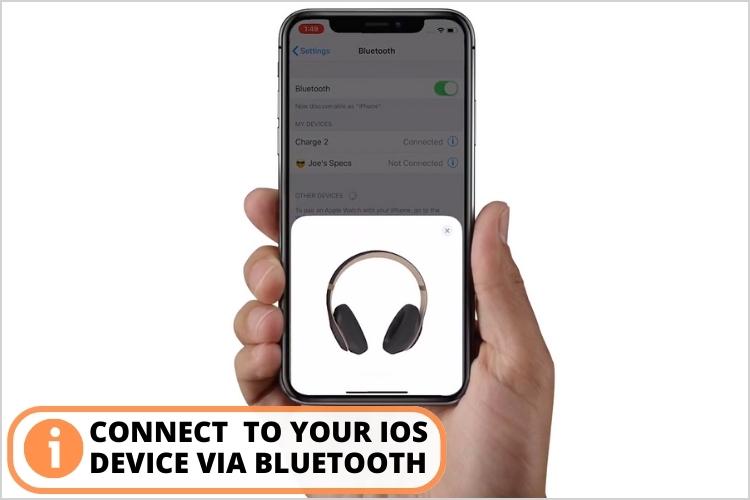
- Go to "Settings" and scroll down to tap on "Bluetooth."
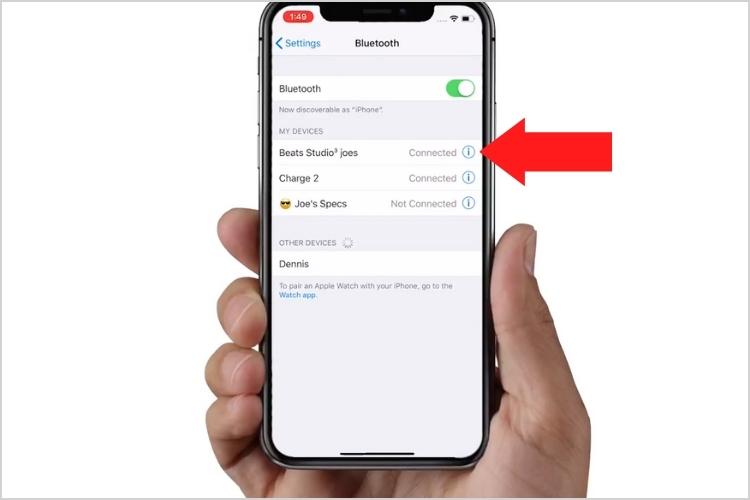
- Under the list of "My Devices," click on your Beats Studio 3 listed as connected. Then, tap the "i" icon next to it.
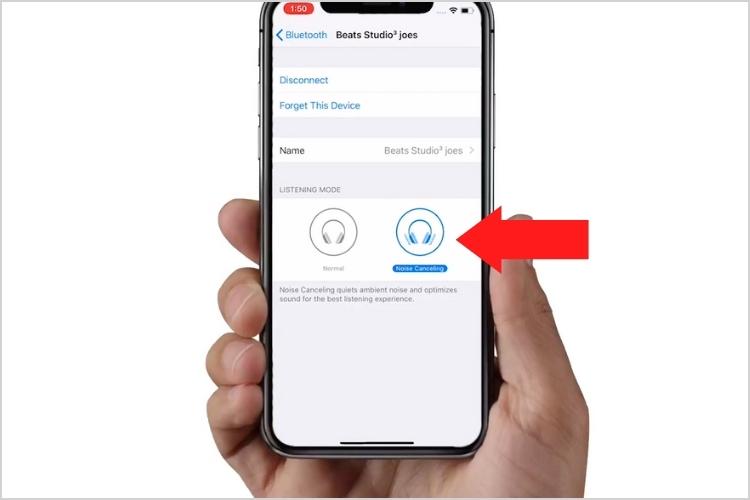
- You'll find the "Noise Cancellation" option on the screen. Tap the switch next to it to turn the noise cancelling ON. The switch should turn green, indicating that noise cancellation is active.
Listed below are the steps to turn it off:
- Follow the steps mentioned above to access the "Noise Cancellation" option.
- Tap the switch next to "Noise Cancellation" again to turn it OFF. It will turn grey, indicating that noise cancellation is disabled.
On Android
You can use the official Beats app to toggle the ANC on and off on Android devices. The best thing about it is that it's completely free of cost and can be downloaded from the Play Store.
Here's a handy 6-step guide for turning ANC ON:
- Turn your Beats on and pair it with your Android device via Bluetooth.
- Open the "Settings" app on your Android device.
- Scroll down and select "Connected Devices" or a similar option related to Bluetooth devices.
- Find your Beats Studio 3 in the list of paired devices and tap on it.
- Look for the "Active Noise Cancellation" or "ANC" option.
- Tap the switch or button next to "Active Noise Cancellation" to turn it ON.
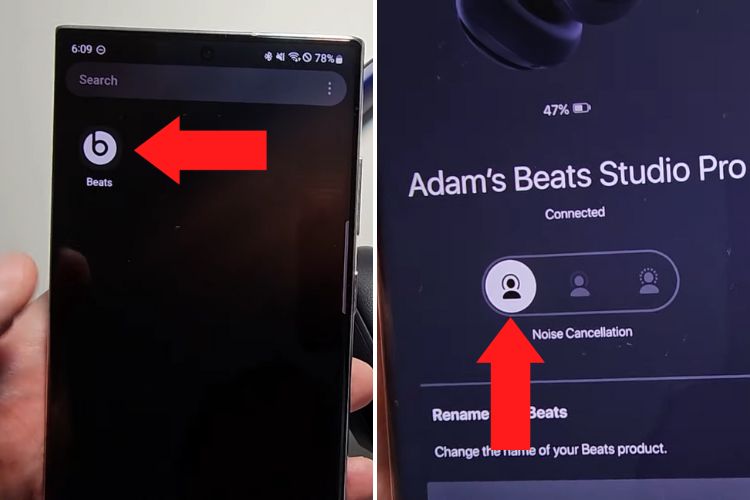
To Turn ANC OFF go to ANC and turn the button/switch off to disable the noise cancellation.
Read Also: 7 Best Foldable Headphones for Wanderlusts in 2025
Fixing Common Problems in Beats Studio 3
Now that you know what ANC is and how it works, let us head over to some common problems you'll encounter with your Beats and how you can tackle them:
1. No Sound or Low Volume
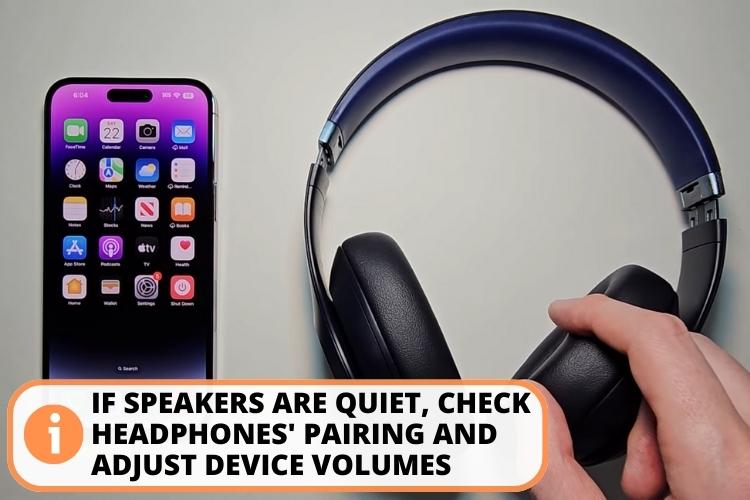
There are instances when, despite putting the speakers on high volume, you can't hear any sound, or the sound is extremely low. Here's how to fix sound issues:
- Check that the headphones are turned on and paired with your device.
- Ensure the volume on both your headphones and the connected device is turned up.
- Confirm that the audio source (e.g., music player) is playing content.
- Clean the headphone jack or charging port for wired connections, as dirt and debris can affect sound quality.
- Try connecting your headphones to a different device to see if the issue persists.
2. Connectivity Problems
Listed below are the helpful suggestions to tackle connectivity issues. Let's check them out:
- Make sure Bluetooth is enabled on your device.
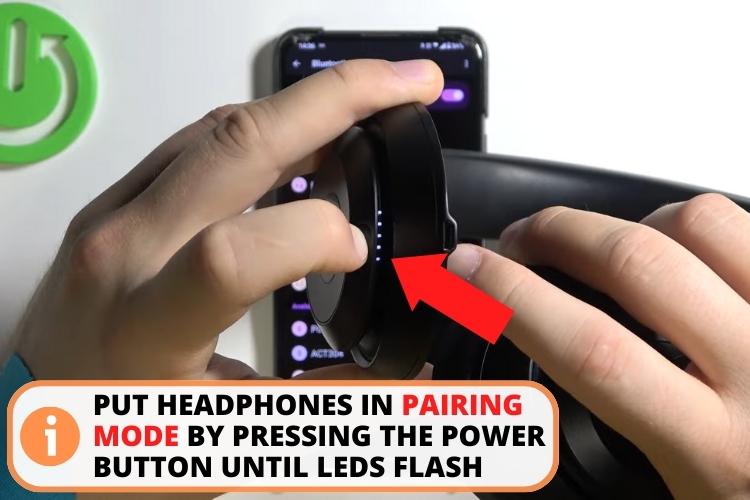
- Ensure your headphones are in pairing mode. If not, press the power button until the LED lights flash.
- Forget the Beats Studio 3 connection on your device, then re-pair them.
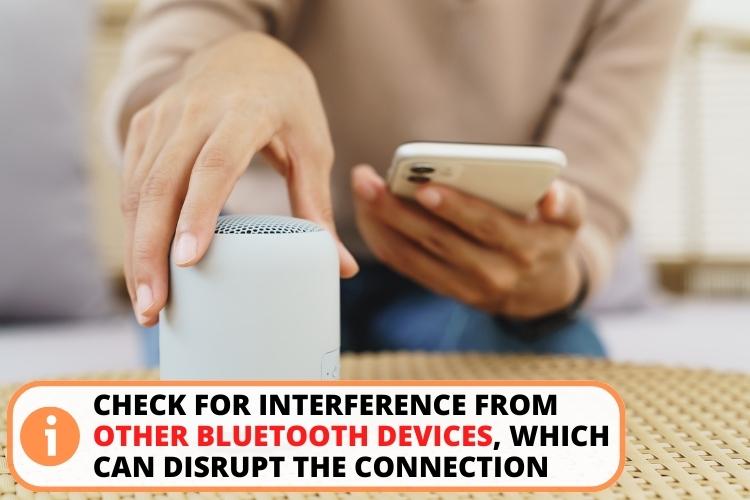
- Check for interference from other Bluetooth devices, which can disrupt the connection.
- If it's still not connecting, update your device's Bluetooth drivers or firmware.
Well, when you cannot fix your device even after trying all troubleshooting options, the last resort is to factory reset. Watch this video to find out about the process.
Perks Of Using Active Noise Cancelling
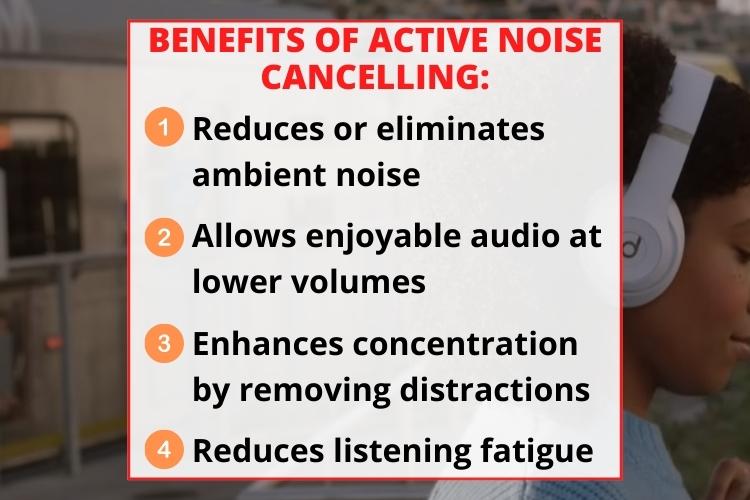
Active Noise Cancellation (ANC) technology offers several benefits, enhancing your listening experience and providing practical advantages in various situations. Here are some of the notable advantages of ANC:
- It significantly reduces or eliminates external ambient noise, creating a quieter and more peaceful environment.
- With less background noise, you can enjoy your audio content (music, podcasts, movies) at a lower volume without compromising quality.
- ANC helps you concentrate by eliminating distractions, making it ideal for studying and working.
- Reduces listening fatigue during long listening sessions.
The Downsides Of Using Noise Canceling Feature
Despite being handy, ANC has a few drawbacks. Here's what they are:
- Since it's found in high-quality headphones, it comes with a heavy price tag.
- To provide excellent audio quality, ANC requires power, which drains battery life. But the good news is many models offer long-lasting batteries to mitigate this.
FAQs
Yes, you have to manually activate the active noise cancellation (ANC) feature on Beats Studio 3 headphones. It can be turned on using the headphones' controls or a connected device.
To turn on noise cancellation on Beats Studio 3 headphones, turn on the device > locate the ANC button > and hold the button or double press it until you see a confirmation tone or an LED indicator light.
You can turn off the activating noise cancelling by pressing the ANC button again until you hear a confirmation tone. This indicates that ANC is deactivated.
Conclusion
Summing up, how to turn on the noise cancelling on Beats Studio 3 is an easy process. To turn on noise cancellation for your connected Beats Studio 3 on iOS, go to Bluetooth settings, select your headphones, and flip the switch to "ON."
To pair with an Android device, open device settings, access connected devices or similar Bluetooth options, select your headphones, and activate "ANC". Also, make sure that there is sufficient battery in your headphones and that they are properly cleaned so you can have a greater sound experience.
Our other posts to read:
Sonos Roam Bluetooth Pairing in No Time: Troubleshooting Guide
Skullcandy Indy Evo Pairing: 5 Reasons They Are Not Pairing
Altec Lansing Bluetooth Speaker Pairing: 4-OS Based Guide
Read Also: One Earbud Not Working: 10 Easy Fixes Listed!
10 Best Bike Speakers with Great Sound Quality
Best Computer Soundbar: 10 Top Models For Great Quality Sound

